
There are many ways you can carve a gnome. Before you begin carving, there are some important things to remember. This project is not only rewarding but also fun. It involves multiple layers and can be a great way of learning how to carve the gnome. There are many creative ways to enhance your gnome carving. These are just three tips for carving a wood gnome.
Freehand carving a gromme
These are some helpful tips for carving a freehand gnome to use as a Christmas ornament. A knife is not necessary to carve a Christmas gnome. However, you will need a micro V tool to add details to the beard or hat rim. A gnome is easy to carve and can be done in your spare hours.
The gnome can be a great tool to show off your ability in freehand carve. They were once popular garden ornaments. It is an excellent way to test your skill and identify areas where you can improve. This will be a good way to measure your design, detail, depth and design. Once you're comfortable with the gnome drawing, it's time to start sculpting him.
Whistle carving is a must-try project for every woodcarver
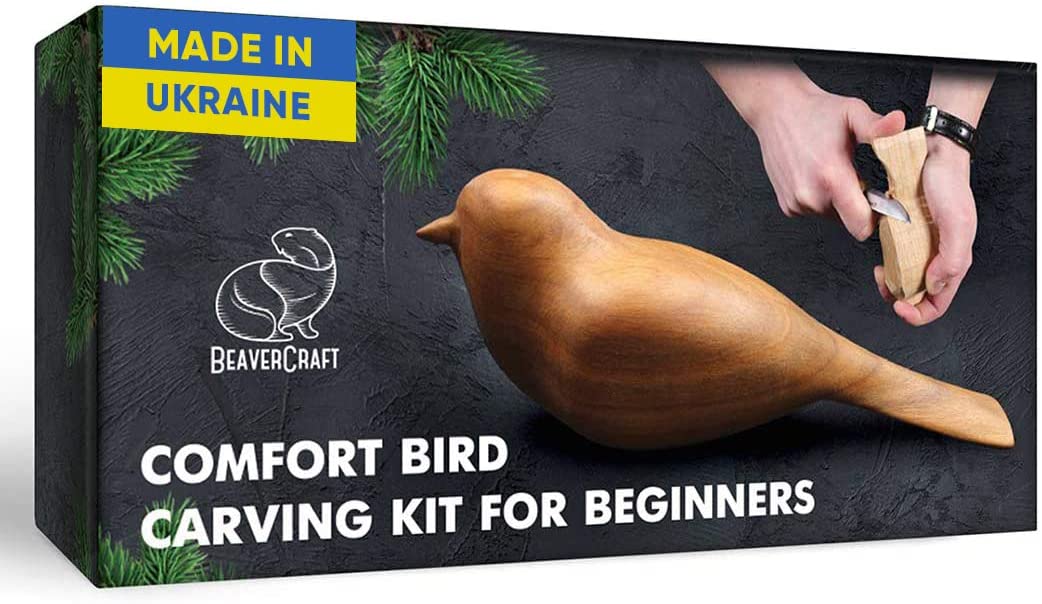
One of the best projects for a woodcarver to tackle is the whistle. A simple, yet functional object, a whistle will be fun to carve and is an excellent way to introduce your friends and family to the process. There are a few things you must do if your whistle is to be functional. This tutorial will explain how to carve a whistle.
To begin the project, you will need a straight-edged blade and non-toxic oil. It may seem intimidating, but carving a Gnome is an easy project that will increase your woodcarving skill and provide you with a creative outlet. This project is great for beginners as you will be able to learn many woodcarving methods.
Gnome carvings can be creative.
A colorful hat can add creativity to gnome carvings. A wood-carved gnome may be a whimsical decoration, or a sneering troll might make your heart melt. Gnomes are a great way to give your garden personality. You can use a variety materials like wood, stone, or stone.
How to make a gnome with wood
Before carving a gnome of wood, it is important to first determine the size of the block. Then, draw the anatomy of the gnome, including its face, body and feet. For the face, you'll want to create a V-cut in specific areas to create smooth corners. Use a knife or chisel to make V-cuts at the correct places. Cut a piece of plywood about 1.5mm thick using a micro Vtool. This will create a nice curve for your hat rim or beard.
It is easy to carve a gnome. There is so much potential for high-quality work. If you carve a gnome each week, you will see improvement in each stage. While this may not happen with every project, weekly carving progress will allow you to make noticeable improvements in design, shape, and facial features.
Add a Gnome to a World of Gnomes
Gnomes Of The Underdark and other RPGs have a common character: David. This character isn't crazy. Telepathy, Can speak fluently with animals, and Can't argue with elves are his traits. He can also be seen putting up road signs in an attempt to scare people. David and Lisa may even have a rivalry going.
Gnomes have a powerful ability to cast spells and are very proficient at manipulating arcana. They are also the only available race in the game. Other gnomes (such as undead gnomes and leper-gnomes) share the same animated skeleton. Gnomes have always had a strong presence in Kirin Tor. Meryl, the founding member of the group, had a associate named gnome.
FAQ
How do I determine what kind of wood my project is made from?
Always verify the label on wood purchases. The label should contain information about the wood species, its moisture content, and whether it has been treated with preservatives.
Is there anything else I should know about woodworking?
Furniture making is a laborious task. It's easy not to appreciate how hard it is. Finding the right kind of wood is the most difficult part. There are so many options for wood, it can be difficult choosing the right one.
The problem with wood is that not all wood properties are the same. Some woods will warp over time, others will split or crack. Before purchasing wood, you should consider these factors.
Is it difficult to start my woodworking business?
It is not easy to start a woodworking business. There are many requirements and regulations that must be followed. It doesn't mean that you have to go through the entire process of starting a business. Many people join already-established businesses. You only need to pay membership and tax fees.
Statistics
- Overall employment of woodworkers is projected to grow 8 percent from 2020 to 2030, about as fast as the average for all occupations. (bls.gov)
- Average lumber prices rose about 600 percent between April 2020 and May 2021. (familyhandyman.com)
- If your lumber isn't as dry as you would like when you purchase it (over 22% in Glen Huey's opinion…probably over 10-15% in my opinion), then it's a good idea to let it acclimate to your workshop for a couple of weeks. (woodandshop.com)
- The U.S. Bureau of Labor Statistics (BLS) estimates that the number of jobs for woodworkers will decline by 4% between 2019 and 2029. (indeed.com)
External Links
How To
How to stain wood
Staining wood refers to applying chemicals to wood's surface. This chemical reaction causes the wood to change in color. The wood will turn from white to brownish-red due to the chemical reaction. The most common type of wood used for staining is oak, although many other types of wood can be stained.
There are many ways to stain wood surfaces. Mixing the stain in a solvent such as turpentine and spraying it onto the wood is one method. Some methods involve a mixture of water and dye that is applied directly to the wood. You can mix stains into varnishes or paints to make them part of your finish coat.
Preparing the wood surface is the first step to staining it. To apply the stain, clean the wood completely. Sanding can smoothen out scratches and uneven spots. The next step is to choose the stain type you want. Penetrating stains are different from non-penetrating. Penetrating colors penetrate deeper into wood than those that are non-penetrating. This makes them more suitable for darker colors, such as mahogany. Non-penetrating oils work best when used with light colors, like maple.
Once you have decided on the stain type that you want, get your tools ready. The best tool for applying stains is a paintbrush. It allows you to evenly distribute the liquid over the surface. It is a good idea to have rags on hand in case you need them to clean up any stains that may remain after you have finished painting. If you are planning to mix your stain, ensure you have enough containers for each component.
Once you have prepared all your materials, it is time to clean the areas where you will stain the wood. Use soap and warm water to remove dust and grime. Wipe down all furniture pieces with a dampened cloth and clean water. You should remove any debris, especially if your plan is to stain darker wood.
Next, apply the stain. Start at one end of the piece of furniture and brush or spray the stain onto the wood. You should work slowly and carefully. Continue moving along the grain until you reach your opposite end. Make sure that the stain does not drip off the edge of the wood. Before proceeding to the next step, let the stain dry thoroughly.
Protect the painted surface with a coat polyurethane paint sealant. Three coats are recommended for polyurethane. Allow the third coat of polyurethane sealer to dry overnight before applying the final coat.