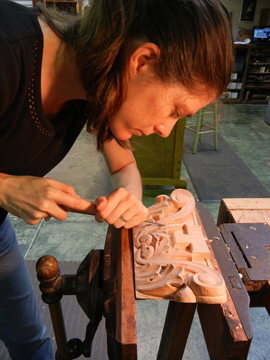
It can be difficult to know where to start when you're just starting woodcarving. Here are some tips and tricks to help you get started with your first animal carving job.
Dog
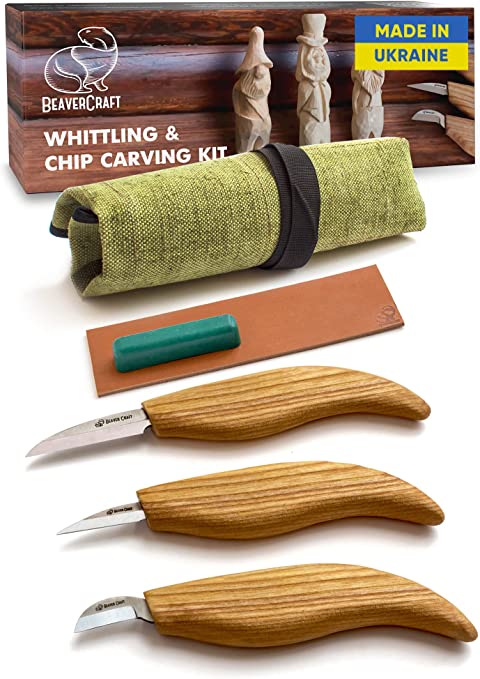
If you are an aspiring woodcarver, you will definitely benefit from the numerous free dog wood carving patterns available online. These patterns will assist you in carving your dog's face in a variety sizes and styles. Here are some tools that will be needed to carve your dog. You will need a band saw or coping saw, chisels, a mallet, and some time to sharpen. After that, you are ready to start carving.
Eagle
Native Americans consider the bald eagle a symbol of strength, courage and wisdom. Its main function was to act as the creator’s messenger. It measured approximately 20 inches across and 5 in inches wide. Today, the eagle is a popular choice for wood carvings. There are a wide variety of woods for eagle carvings, from modern to antique. This article will show you some of the most common wood carving styles.
Bear
Carving a wood bear is very simple. There are a few distinct lines and shapes. Each line adds weight. For added visual interest, the bear's front paws are placed opposite the leg lines. A book that shows beginners how to carve a bear is a good choice if you are new to wood carving. James Miller's book shows the entire process.
Elephant
An elephant wood carver is a beautiful way to give your home character. 1stDibs stocks 56 antique carved wood elephants as a well as two new pieces. These pieces are a classic design that dates back to the 19th Century and have seen increasing popularity in recent times. You have the option to choose from Art Deco or Mid-Century Modern styles. Or, you can pick a smaller piece that will add a subtle touch of elegance to your home.
Moose
The moose is an excellent animal for wood carving, and you can add antlers to it or create a beautiful head. Dowels can be used to attach antlers or paddles to moose. These will need to be pushed in and possibly glued in place. Then you can paint or color the moose with a walnut gel stains.
Template for moose
Carvers can use a moose carving template to help them create realistic-looking carvings. You can use paints to color your moose carvings. After you've learned the basics it is simple to carve this creature. Add details such as fur and eyes using a brush or a die grinder's typhoon bits. The Moose template can be used by beginner wood carvers to create an animal.
Bear template
A template is necessary to begin carving bear wood. Use a Dremel Tool to inspect the wood features. With this tool, you can use stop cuts to separate the legs from the lower body. To mark the location of splits, you can also make small V cuts in the legs. You can then round the underbelly after you have completed the leg and ear parts. To continue shaping the bear, leave a space at the back.
Eagle template
Three detailed templates are needed to carve an adult eagle. The first template is used for carving. The second template will serve as a working paper template. It will be cut to create transfer patterns. The third template will serve as a reference. Then, you will use the tools available to cut out the main lines of the template. Cut the lines so that they are close to the pattern. All marks should be aligned.
Template for mice
If you're new to wood carving, you'll find that there are several different designs to choose from. Using a template will make this task much easier, and there are even printable patterns available to help you along the way. If you are a beginner, you can start with a simple pattern. Next, you can learn more complex patterns. Once you have mastered the basics you will be able to create the perfect mouse.
FAQ
What is the difference of plywood and particleboard?
Plywood is made of layers of wood that are pressed together under pressure. Plywood can come in many thicknesses and is used for flooring and cabinets. Particle board is made from sawdust mixed with resin and then compressed into large blocks. It's used for home improvement projects. Both types of boards are durable and easy to cut.
Is it possible to learn woodworking by yourself?
The best way to learn anything is by doing. Woodworking is an art that takes patience, practice, skill and experience. Any craft requires patience to master.
To actually learn something is the best way. So start small and build on what you have learned from there.
How long does it take you to finish a piece?
It all depends on how large the furniture is. For smaller projects such as picture frames and boxes, it can take less than a day to complete. Larger projects such as tables and desks can take several days to complete. It takes time to stain and seal the wood properly.
What tools do I need to start as a woodworker and what should I learn?
Woodworking is an art. It requires patience. It takes time to learn how to use all the different tools and techniques required for woodworking.
There are many types of woodworking equipment on the market today. Some prefer to use power tools, while others prefer to use hand tools.
The choice is yours, but you must ensure you choose the right tool for the job. Start with a basic set if you don’t have any previous experience.
You could also try learning how to use a router which is used to cut intricate shapes into wood. These can be found at most hardware shops.
How often should I get new supplies?
Over time, you may need to replace your tools. If you are using hand tools, you will need to sharpen them frequently. You'll also need to replace parts if you use power tools. Spread your purchases over several months to avoid purchasing too many items at once.
Statistics
- The best-paid 10 percent make $76,000, while the lowest-paid 10 percent make $34,000. (zippia.com)
- If your lumber isn't as dry as you would like when you purchase it (over 22% in Glen Huey's opinion…probably over 10-15% in my opinion), then it's a good idea to let it acclimate to your workshop for a couple of weeks. (woodandshop.com)
- Woodworkers on the lower end of that spectrum, the bottom 10% to be exact, make roughly $24,000 a year, while the top 10% makes $108,000. (zippia.com)
- Overall employment of woodworkers is projected to grow 8 percent from 2020 to 2030, about as fast as the average for all occupations. (bls.gov)
External Links
How To
How to make wooden joints
This tutorial will help you join two pieces of wooden together. We'll use the "pocket hole joint," which means we drill holes in the wood and then glue them together. This method is great if your wood's straight and smooth. Dowel joinery might be a better option if your wood is not straight or flat. Here are the steps
-
Drill Pocket Hole Joints. Measure and mark the location where you would like to place the pocket hole joint. Then drill 3/4 inch deep holes into the ends of each piece of wood using a jig saw or handheld drilling machine.
-
Sand Smooth. Sanding the wood's edges will ensure that the joint doesn't split.
-
Glue the two sides of the wood together. Apply glue to both sides of the wood. Let the wood sit for 5 minutes, then clamp it together.
-
Attach the Pieces together. After the glue has dried thoroughly, secure the pieces so that they are flush.
-
Trim Joinery. Trim any excess wood surrounding the joint once the glue has dried completely.
Make sure to leave enough room between the pieces so that you can turn them inside and out.