
A lidded box requires that you square the sides and perimeter of your box. Both the lid and box are made from the same 2-in thick, seasoned block. To square the base, start by cutting a foot on one side of the wood. Because the final box will rest on the base alone, the center must be slightly recessed. With a small knife, cut the recess.
End grain hollowing in lidded containers: Challenges
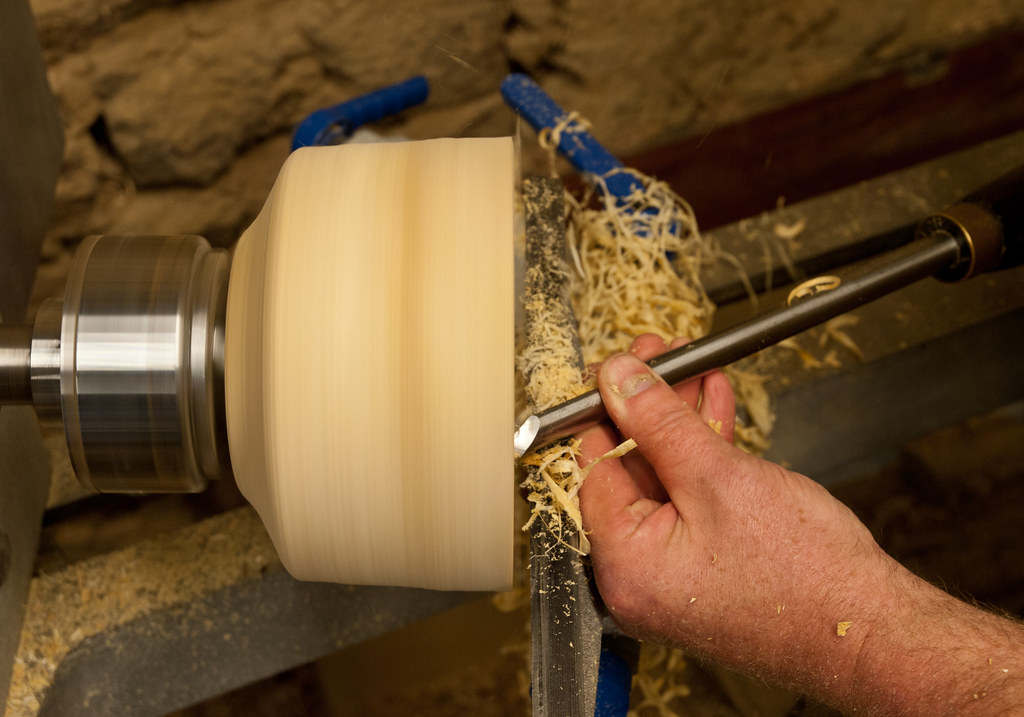
Hollowing end grain is a common problem in box-making. This process is complex and requires specialist tools. You might be able make a basic hollowing device for as low as $30 by grinding an old screwdriver. Another option is to buy a tool called a "gouge" and use it as a hollowing tool. Avoid using sharp edges to hollow end grain. A gouge should feature a long, flat edge and a round fingernail.
End grain hollowing is five times more difficult than side grain. It can also easily tear out. It is this reason that even skilled bowl turners have difficulty hollowing end grain. Changing from a gouge to a scraper can help overcome these problems, but it is worth noting that lidded boxes often require special end grain tools.
How to make a snap-fit lidded container
A snap-fit lidded cardboard is a type container with a sliding closing. These boxes often contain liquid or other liquid-filled containers. They are easy to assemble and disassemble, and can be automated for low assembly costs. There are many snap-fits, so engineers need to choose the most cost-effective, strong, and reliable. This article provides an overview on the different types and uses of snap-fits.
Use a 3-D printer for creating a snap-fit lidded package. It is important that the upper half of the box be designed correctly. The base must be in line with the upper portion. When seated, the lid should not move. The lid should fit snugly. In small pieces, you can remove the wood. Although it can be difficult, this process is worthwhile.
Wooden used to make lidded boxes
The various types of woods used to make lidded boxes are salvaged from trees. After a tree has been harvested, it is dried to prevent cracks. The wood is then rough turned to create a general shape. A second drying process results in wood shrinkage. Depending on the design, the lidded box can also be made from different types of wood. A lid generally consists of two pieces. The smaller one is the top.
Small circular containers with lids were made by turning them on a lathe. Boxwood, which is a slow-growing tree with a narrow grain and thin pieces, was used by turners. Because the grain was so close together, this wood was especially useful for creating fine features. It was commonly used to make double sided combs. Lidded boxes were also often made from boxwood, and were also known as pyxides.
The size of the lidded container
The type and size of wood used determines how large a lidded wooden box will be. Maple and cherry are the most common woods used. These woods have great shrinkage rates and make great boxes. For a quality box, wood should be three inches square and five or six inches long. Make sure the wood is dry when you choose it for your box. Exotic woods are an option for a visually appealing lid. But you need to be well-versed in the process.
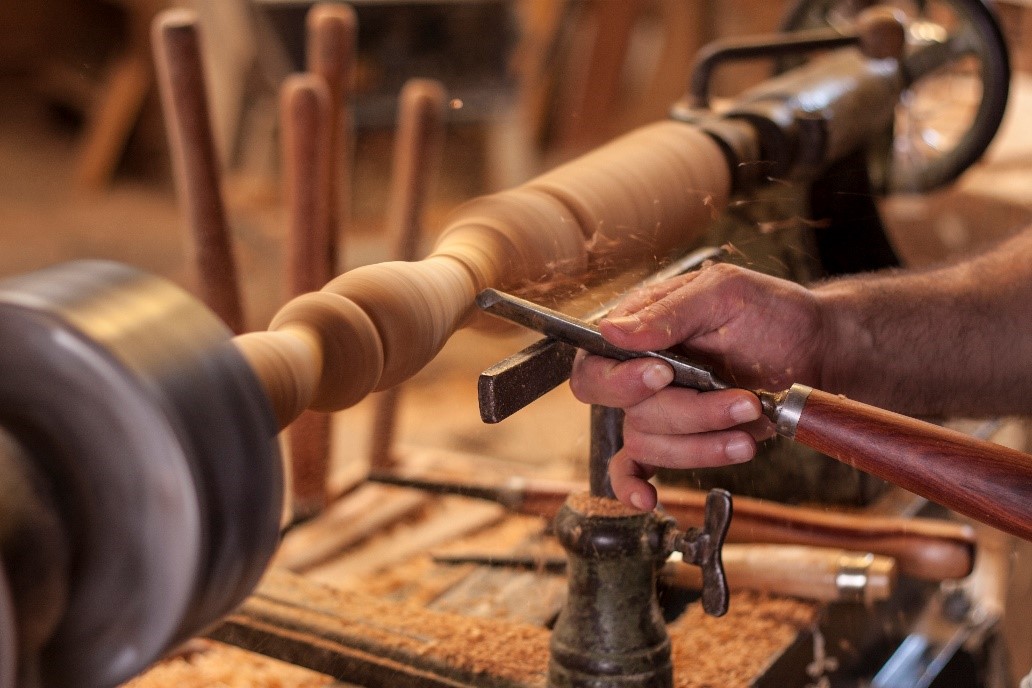
Preparing the wood is an important step. You will need a thin chamfer to smoothen the bottom of your box and make it round. Cut a V shape at the joint. Once you are satisfied with the shape, you will be able to use a spindle-roughing tool to finish shaping the remainder of the box. To mark the bottom of your box before you begin carving it, use a parting instrument. Next, use a skew to chamfer the base of the lid. This will soften the corner and conceal a slight circularity at the base/lid joint.
FAQ
You can learn how to woodwork.
Doing is the best way to learn any subject. Woodworking takes practice, skill, patience and experience. To master any craft, it takes time.
Learning how to do something is best done by doing it. So start small and build on what you have learned from there.
What kind of wood should I use?
The most popular types of wood used in woodworking include oak, pine, birch, maple, cherry, mahogany, teak, poplar, redwood, and bamboo. Each wood variety has distinct characteristics that influence the final product's look and feel. For example, oak tends to be darker and harder than other woods. Birch, which is lighter and soft, is more heavy than mahogany. You can also pick between veneers and solid wood. Veneers are thin sheets of wood that are glued together to form a single layer.
Which wooden products are most popular?
The most successful wooden items are made from sustainable wood.
Oak, cherry and mahogany are the most sought-after wood types for furniture.
These woods are very strong, but they also have beautiful grain patterns and colors. They are also very durable if properly maintained.
Wooden furniture should always be painted first to protect against moisture damage. All surfaces should be painted, including doors, drawers, and handles.
Paint that is water-resistant will ensure furniture lasts for a long time.
You should use a high-quality oil-based primer followed by two coats of top coat. It is possible to apply multiple coats depending on how heavy the wear.
Avoid spray cans or aerosol colors. These products contain solvents that evaporate quickly and leave behind harmful fumes.
Statistics
- Woodworkers on the lower end of that spectrum, the bottom 10% to be exact, make roughly $24,000 a year, while the top 10% makes $108,000. (zippia.com)
- In 2014, there were just over 237,000 jobs for all woodworkers, with other wood product manufacturing employing 23 percent; wood kitchen cabinets and countertop manufacturing employing 21 percent. (theartcareerproject.com)
- Overall employment of woodworkers is projected to grow 8 percent from 2020 to 2030, about as fast as the average for all occupations. (bls.gov)
- The U.S. Bureau of Labor Statistics (BLS) estimates that the number of jobs for woodworkers will decline by 4% between 2019 and 2029. (indeed.com)
External Links
How To
Here are some tips on how to drive nails in wood
First, choose the right size and type of tool to drive a nail through wood. The most commonly used types of Hammers are claw hammers. Each type of hammer comes with its advantages and disadvantages. A clawhammer works best when hitting something hard like nails. However, it can sometimes be difficult to see exactly where the strike is going. A sledgehammer is useful for striking large areas at once but too heavy to be effective for smaller tasks.
Once you have chosen the right hammer for you, put your hand flat against its side so that it rests comfortably in the palm of your hand. Grab the handle tightly, but do not squeeze too hard. Keep your wrist relaxed and the hammer straight up. Then swing the hammer back toward the ground, aiming for the center of the nail. You should feel the impact on the nail from the hammer. Try practicing with a block to help you master the art of swinging a stick.
Once you are ready to drive the nail, place the hammer close to your body. Place the nail so that it is perpendicular with the wood's surface. Your eyes should be focused on the nail's tip. Swing your hammer forward. Then follow through with the motions of the hammerhead. You can repeat this several times, increasing your swing speed. After mastering the technique, you can add power to your swings. You can hold the hammer over your shoulder and forcefully bring it down. You'll have more energy to work with.
Once you have successfully drilled the first hole in the nail, remove the hammer. To remove the remainder of the nails, you can use a screwdriver/pry bar. Keep the nail heads parallel to the board's surfaces in order to avoid splitting wood.