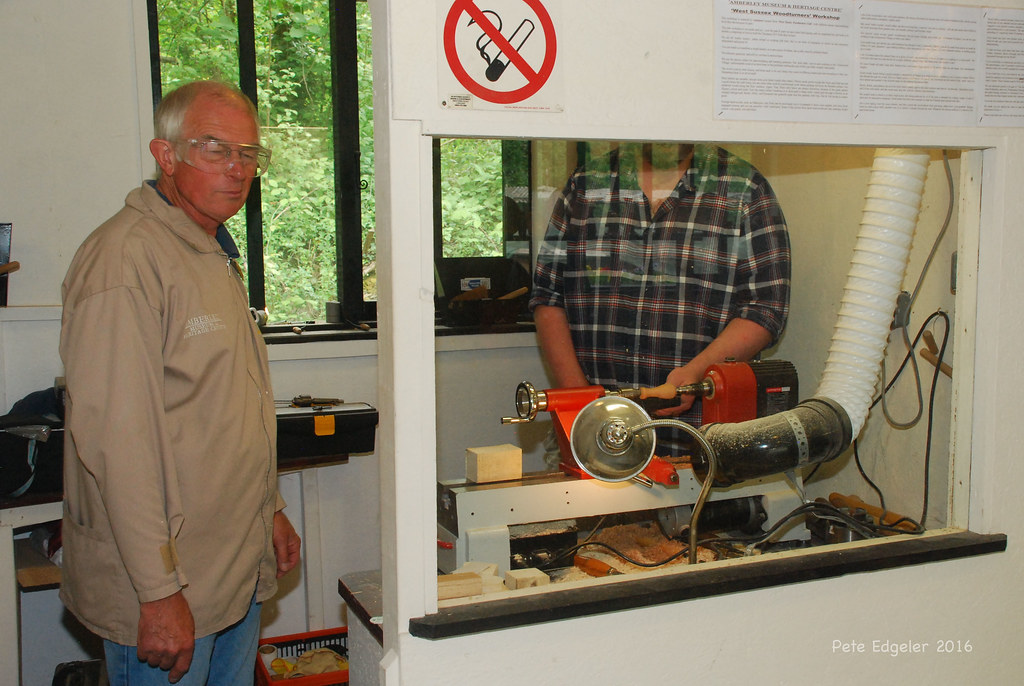
There are many ways to turn sand. However some turners prefer a slow speed. You should be aware that sandpaper can wear out and require increasing pressure to cut wood. This results in heat generation, a smooth finish and embedded scratches. This article will provide tips and information on how to make the most out of your lathe.
Dull sandpaper affects lathe sanding
If you're not familiar with the effects of dull sandpaper, here's an overview of how this material can impact your work. This makes your work less productive by causing the paper to grab the wood or come in contact with the jaws. This leads to poor finish quality and inefficient Sanding. It is best to buy sandpaper in a specialty shop to avoid this problem. The difference is striking.
Dry sanding can easily tear, which can lead in uneven results. If this happens, the workpiece may fly higher and then hit the operator. Or, the work piece could be caught on the sanding surface or sucked into machine. Sandpaper that is too dull can affect lathe sanding
You should use finer grades of sandpaper.
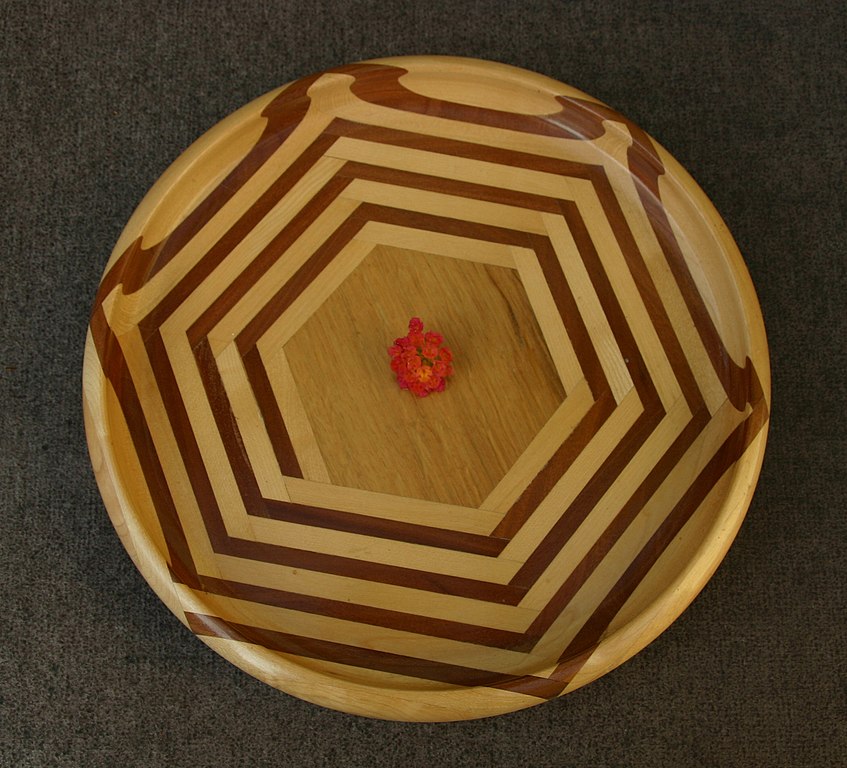
Sanding a lathe can be done with progressively finer papers. You can choose between 100, 180 and more depending on what material you are working with. Each grit covers the original scratch, and the next one removes it. 400 is the final grit. Many turners suggest hand sandpaper as the final step. It should follow the grain of wood. You can also use compressed air to remove dust from the sanding process.
The coarser, sandier grades are removed by coarser paper grits. However, this will cause a fogginess in your turning. Using finer grits will help you get rid of the finer scratch marks. While coarser grits are better for removing larger amounts of wood and smoothing out corners, finer sandpapers will remove even the smallest details.
Avoid clogs by using lathe sandpaper

You need to use the correct grit for the job in order not to get clogged. Ask for assistance at your local hardware store. You can also purchase variety packs that are great for multiple grades. Listed below are the different types of sandpaper and their grit numbers. Aluminum oxide is an excellent choice for general sanding work, while synthetic Sandpaper is more suitable for woodworking tasks.
Floor finish is another reason for clogs. Varnishes and resins tend to leave sticky residue on the surface and can become a clogging hazard. Sandpaper should be carefully chosen according to the type of finish that you are attempting to achieve. For light-duty, you should use sandpapers that have a higher grit. Finer sandpapers can be used for more heavy-duty work. But they are more likely than not to clog or cause more scratches.
Using a sanding belt holder
A sanding belt mounted on a lathe reduces the risk of hand sanding and allows for safe, efficient sanding. A sanding belt holder fixes to the tool-case turrets of conventional lathes, and leverages the rotational movement of the workpiece. Available in 25 mm and 50 mm widths, they are compatible with a wide variety of belt diameters and can also hold different abrasion grits.
To provide extra stability, you can use a worktable extension or roller stand if your workpiece is very long. The tilt lock must not touch the belt. After you have installed the sanding holder, you are ready to start sanding. If you have finished assembly, you can use the worktable extension to sand the entire surface of the workpiece.
For lathe sanding, use a sherpa
You know how easy it is for a disc to slip from the machine’s chuck and get lost. You can easily change out the abrasive discs with a donut, which can be fastened to the tailstock with masking tape. If you are using a donut, ensure that the backing is facing out. Mark the abrasive disc halfway from the center to the rim. Cut the disc with a thin knife.
FAQ
You can learn how to woodwork.
You can learn everything best by doing. Woodworking is an intricate art form that requires practice, skill, patience, and experience. Any craft requires patience to master.
To actually learn something is the best way. Start small and learn from your mistakes.
How do you calculate woodworking prices?
The most important thing to remember when calculating costs for any project is to keep them as low as possible. It is important to ensure that you are getting the best materials prices. It's also worth taking into account all the other factors that may affect the cost of your projects, such as time, skill level, and experience. You can find an estimate of the cost of different woodwork projects in our guide to common DIY tasks.
Where can I buy hardwood lumber?
Home Depot offers hardwood lumber. They carry a variety of wood products such as flooring, cabinets, and furniture.
A wide range of engineered hardwoods are also available, such as Ipe and Brazilian Cherry (Pau d'Arco), Mahogany and Swietenia Macrophylla.
These woods can also be purchased online by simply searching Google for "hardwood timber"
What wooden items do you sell well?
The most successful wooden items are made from sustainable wood.
The most used wood types for furniture are oak, maple and walnut.
These woods not only have great strength, but also beautiful patterns and colors. They will last for many years, if taken care of properly.
To protect wood furniture from moisture damage, it should be painted first. This includes all surfaces, including drawers, doors, and handles.
Choose a paint with water resistance if you want furniture to last as long possible.
You should use a high-quality oil-based primer followed by two coats of top coat. Depending on the amount of wear, you may need several coats.
Spray cans and aerosol spray paints are not recommended. These products can evaporate quickly and emit harmful fumes.
Which material would you recommend for woodworking lessons?
Start with softwoods, such as pine or poplar. Once you feel comfortable with these two, move on to hardwood.
What woods are suitable for making furniture?
Woods can be classified according to how hard they are. Softwoods can be pine, fir or cedar. Because they resist rot, softwoods can be used to make outdoor furniture. These hardwoods include maple, mahogany and teak. Because they are not weather-resistant, they are best used indoors.
How do you know which type of wood you are working with?
When purchasing wood, always check the label. The label should detail the wood species, its moisture content and whether it has been treated or not.
Statistics
- Average lumber prices rose about 600 percent between April 2020 and May 2021. (familyhandyman.com)
- Overall employment of woodworkers is projected to grow 8 percent from 2020 to 2030, about as fast as the average for all occupations. (bls.gov)
- The best-paid 10 percent make $76,000, while the lowest-paid 10 percent make $34,000. (zippia.com)
- Woodworkers on the lower end of that spectrum, the bottom 10% to be exact, make roughly $24,000 a year, while the top 10% makes $108,000. (zippia.com)
External Links
How To
How to join hardwood without using nails
Many people love woodworking. Woodworking can be a fun hobby because you can work with your hands to make useful objects from wood. You might want to join two pieces from the same wood, but you don't need to use nails. This article will demonstrate how to do so to preserve the beauty of your woodwork.
First, remove any sharp edges from the wood pieces before you join them. Sharp corners can cause problems down the line. After you have completed this step, you are ready to glue your boards together.
If you are working with hardwood, only one side should be glue. You should glue both sides if you are working with softwoods such as pine and cedar. Apply the glue to the boards and press them down until they are securely attached. Before you proceed to the next step, be sure to let the glue dry completely.
After you glue your boards together, drill holes at the joints where screws will be inserted. These holes will differ depending on the type and size of screw you are using. For example, if your screw is a 1/2-inch wooden screw, drill a hole that is at minimum 3/4 inches deep.
After drilling the holes, you can drive the screws into your board's backside. Avoid hitting the board's top surface. Otherwise, you could ruin the finish. Don't drive the screws too far into the end. This will prevent splitting in the end grain of the wood.
Once your project is complete, it's time to protect it against the elements. To do this, you can seal the entire furniture piece or just cover the top. It doesn't matter what method you use, you want something that will last many years. Examples include oil-based varnishes and polyurethanes, shellac, lacquer and others.
These products can generally be found in any home improvement shop. Just make sure that you buy the right kind for the job. Also, remember that some finishes are toxic and should never be used indoors. So, always wear protective gear when handling them.