
Woodcarving can be a great way to escape from modern day stress. There are many reasons why you should learn it. Apart from being a great hobby, woodcarving allows you to develop skills and is good for both your mental and physical health. It's also a great hobby, especially when you have a supportive online community. Many woodcarvers are available to share their patterns and experiences with the community.
Register for an online masterclass and learn woodcarving
Enrolling in an online masterclass course is a great way to learn how to carve wooden. First, you will be able to learn safe techniques for carving wood. Second, you will also become familiar with the tools. You will learn about different types of woodcarving instruments. Advanced students can also use their own woodcarving studios. You can start the course by enrolling in a free course.
The Crucible can teach you how to carve a small piece of woodworking such as a bowl, spindle, or any other project. These courses can also help you learn the basics of woodworking, as well as provide practical STEM lessons. A typical woodcarving class will teach students about the history of woodcarving, how it is done, and the design process. With a professional instructor guiding them through the entire process, students leave the class with a beautiful and unique end-grain cutting board.
The right tools for you
Learning wood carving is a great hobby that requires the use of the right tools. Wood carving is a relaxing hobby where you can transform ordinary pieces of wood to make beautiful pieces. Wood carving projects can range from figurines to elaborate sculptures that can reach several feet tall. A common question from beginners is how long it takes to master this art. Depending on whether you concentrate on one style or are trying them all simultaneously, the answer to this question is different.
It is important to select the right tools for your job when learning how to carve. There are many options for wood carving tools. Before you begin carving, it's a good idea make a sketch. To achieve the desired results, you will need to be able to measure the wood accurately and know where to make cuts.
Selecting the right type of wood
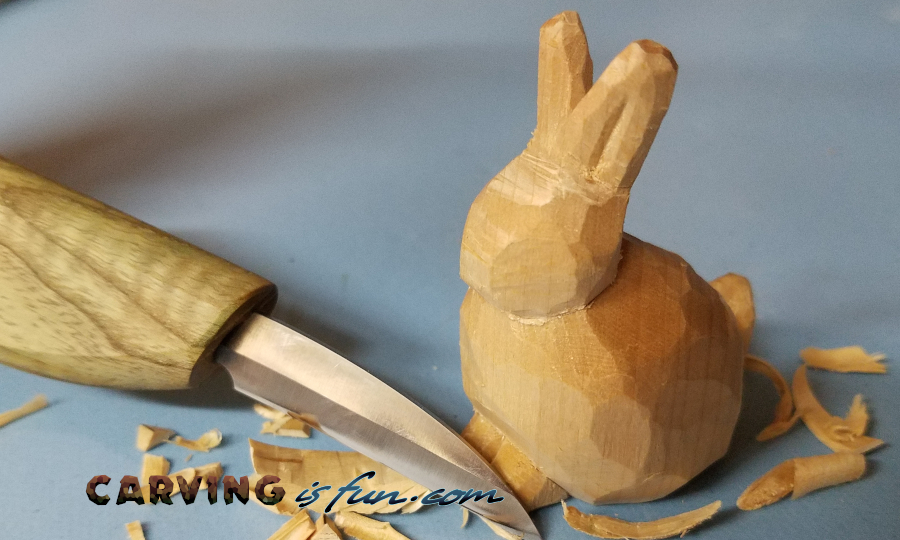
The right wood is essential to learn wood carving. A woodcarver should choose a wood with minimal imperfections. The color, growth rings, and grain are important considerations. Certain woods are harder than others, making them unsuitable to be carved. The odors of woods are not harmful, but they should be avoided. Also, beginners should not carve from these types woods.
There are many types of wood that can be carved. If you plan to carve items for your home, you will want to choose a hardwood. For beginners, soft woods like basswood can be a better choice. Even though they are ideal for practicing carving, the more durable woods, like walnut and Tupelo, may not be best for long-lasting pieces.
Protecting yourself while learning woodcarving
When learning woodcarving, there are several safety precautions you should take. First, wood carvers must ensure their safety when operating tools. Safety gloves are essential when operating a saw, chisel or other woodcarving tools. Also, while carving, wood chips can fly a long way. Because different wood types can cause toxic issues and dust, a simple dust mask could be helpful.

It is possible to protect yourself against the dangers of sawdust or wooddust, even if your first steps are to carve. Sawdust can cause skin irritation and bleeding. When woodcarving, it is important to protect your eyes with cut resistant gloves. Steel-toed shoes are great for protecting your feet from fallen objects and bits of wood. Steel-toed boots often have puncture-resistant soles, which help reduce the risk of getting hurt when working with power tools.
FAQ
How often should I buy new supplies?
Over time, you may need to replace your tools. If you are using hand tools, you will need to sharpen them frequently. You'll also need to replace parts if you use power tools. You can spread your purchases over a number of months to avoid spending too much.
What is the difference between a hobbyist or a professional woodworker, and how can you tell?
Hobbyists are passionate about making things from wood, while professionals tend to be more focused on the quality and craftsmanship of their work. Hobbyists are proud of their creations and will often share them with family members and friends. Professionals will spend hours researching designs before they begin working on a project. They'll pay great attention to details, from choosing the most suitable materials to finishing the work perfectly.
How much should a woodworker charge per hour?
The hourly rate of a professional woodworker depends on many factors including experience, skill level, availability, location, etc.
A skilled woodworker can expect an hourly rate of $20-50.
A less experienced woodworker may charge as little as $10 an hour.
Can I make a living doing this?
Yes! Many woodworkers have this ability. According to U.S. Bureau of Labor Statistics (BLS), woodworkers earned a median annual salary of $34,000 in May 2012. This is much higher than the national median of $31,000 per annum.
Statistics
- Most woodworkers agree that lumber moisture needs to be under 10% for building furniture. (woodandshop.com)
- In 2014, there were just over 237,000 jobs for all woodworkers, with other wood product manufacturing employing 23 percent; wood kitchen cabinets and countertop manufacturing employing 21 percent. (theartcareerproject.com)
- Overall employment of woodworkers is projected to grow 8 percent from 2020 to 2030, about as fast as the average for all occupations. (bls.gov)
- If your lumber isn't as dry as you would like when you purchase it (over 22% in Glen Huey's opinion…probably over 10-15% in my opinion), then it's a good idea to let it acclimate to your workshop for a couple of weeks. (woodandshop.com)
External Links
How To
Here are some tips on how to drive nails in wood
The first step in driving a nail into wood is to choose the correct size and type of hammer. Claw hammers include mallets, claw hammers (sledgehammers), mallets, ball-peen hammers, hatchets, and mallets. Each kind of hammer has its own advantages and disadvantages. A claw hammer is best for hitting nails or hard objects. However, it can be difficult to pinpoint exactly where the blow will land. A sledgehammer allows you to hit large areas simultaneously, but it is too heavy and cumbersome to use for small tasks.
Once you have chosen the right hammer for you, put your hand flat against its side so that it rests comfortably in the palm of your hand. Grab the handle tightly, but do not squeeze too hard. Hold the hammer straight up, keeping your wrist relaxed. Next, swing the hammer toward the ground and aim for the nail's center. You should feel the impact of the hammer striking the nail. Try swinging a hammer using a block wood to practice until you are comfortable.
Once you are ready to drive the nail, place the hammer close to your body. Place the nail so that it is perpendicular with the wood's surface. Your eyes should be focused on the nail's tip. Swing the hammer forward, and then move the hammerhead. This can be repeated several times to increase the speed of your swing. Try adding power to your swings when you've mastered the technique. Try holding the hammer above your shoulder and bring it down forcefully. You will be able to use more energy and put your best foot forward.
Once you've made the first nail hole, take out the hammer. To pull out the remaining nails, use a screwdriver or pry bar. Keep the nails heads in line with the surface of the board to prevent splitting the wood.