There are many woodworking methods. There are, for example, ancient Egyptian, Chinese, or Japanese woodworking techniques. Modern techniques are available, too. Learn more about these styles by reading on. Let's begin by looking at the basics of each style. How do you know which one to learn? And what tools are needed to make it all work? Let's see some examples to get you started.
Traditional woodworking techniques of Ancient Egyptian Egypt
The ancient Egyptians used various woodworking techniques, including mortise and tenon joints, to construct objects. Copper was used as the first material but it was eventually replaced by bronze in 2,000 BCE. Ironworking was only a few years away. The New Kingdom period was from approximately 1570 to1069 BCE. They started using tin rather than arsenic. Recent discoveries include the oldest piece of plywood in the world, found in a third dynasty coffin. It was made of six layers of wood, was about four millimeters thick, and was held together by wooden pegs.
The most famous example of Egyptian woodworking is the pyramids. But there are many other examples. Many wooden sculptures, wall paintings and a variety of tools show that ancient people were skilled at creating functional and beautiful objects out of wood. Amazing is the fact that wood objects survived hundreds of years in dry Egypt. Geoffrey Killen, in his book, explores these techniques and shows readers a box taken from Perpaut's 18th Dynasty tomb at Thebes.

Japanese woodworking techniques
Japanese woodworking techniques differ from Western ones in many ways. Many Japanese crafts are extremely complex and involve layers of craftsmanship. Some techniques are very simple while others require considerable expertise. Find out more about Japanese woodworking methods and their history to learn how they have changed over time. These are some of Japan's most famous examples:
The Kigoroshi joint is a fundamental Japanese woodworking technique, a traditional way to make joinery. This joint is composed of two pieces made from wood at a 90 degree angle. Dovetail joints can be used as a replacement for screws and to provide a tight fit between two parts. This technique takes patience and precision. For delicate pressure, you will need a round end hammer. Cabinet makers use it as their hammer, since the smooth edges make for a clean look.
Chinese woodworking techniques
Chinese woodworking techniques are well-known and have been in use for thousands of year. These techniques are known for their precision and ability to fit together. Chinese buildings often have beautiful joints on their walls, floors, roofs, and roofs. They are also the originators of glue-less joineries. The ancient Chinese techniques are not yet fully understood, as most information is still lost in translation. It is therefore difficult to find comprehensive information on Chinese woodworking.
The Japanese have developed their own unique woodworking techniques. They are not only able to use the Ken "Kotatsu" style of woodworking but also have their unique style. They use four main types of professional carpentry: Sukiya (traditional teahouses), sashimono-shi, and tateguya (traditional Japanese room dividers). The Japanese were among the first to develop lacquer and other finishes, and their joineries are renowned as the foundations of some of the world's greatest structures.

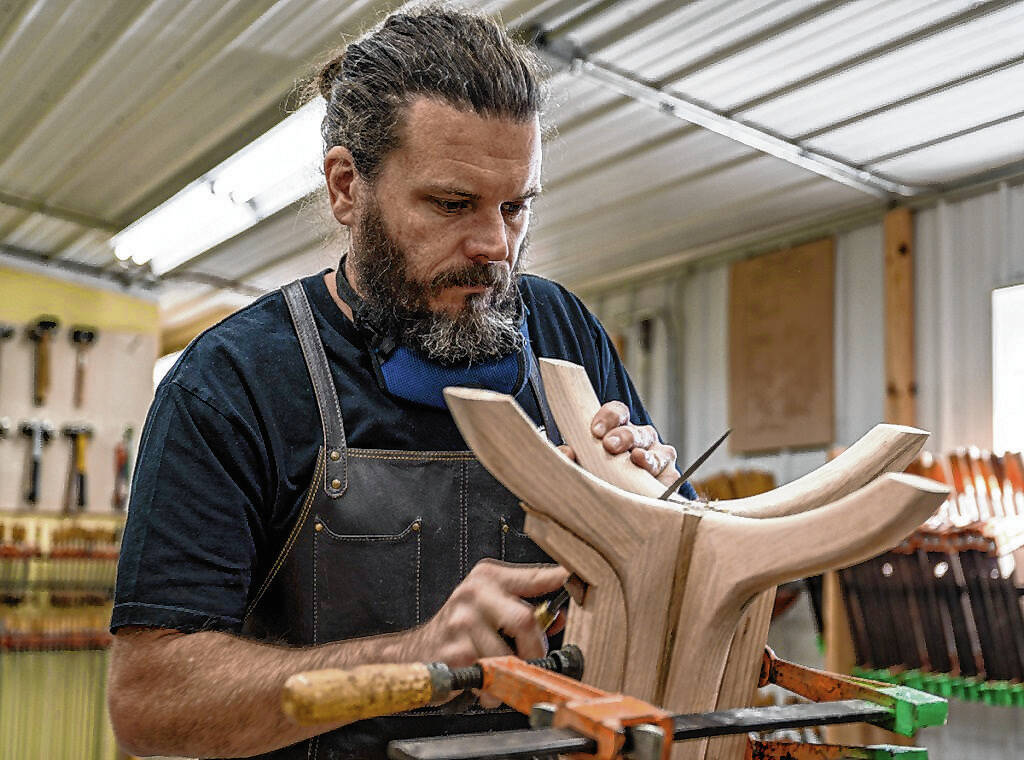
Modern woodworking techniques
Modern woodworking techniques can make beautiful things from wood. Modern tools and techniques include both hand tools as well as machines. You need to learn how each tool should be used and maintained. Understanding the various types of cuts and joints and which finishing materials are available is essential. Here are some techniques that can be used in your projects.
Hand-planing and hand-chiseling are two of the most popular woodworking techniques. Hand-chiseling, a traditional method for shaping wood slabs, is also available. Both of these techniques are excellent for beginners, and have been used by woodworkers over the centuries. A few steps will help you learn how to use these tools. These techniques use hand-chisels and hand-planing to shape and refine the wood.
FAQ
What is the difference between a hobbyist or a professional woodworker, and how can you tell?
Hobbyists enjoy creating things out of wood. Professionals tend to focus on the quality. Hobbyists often take pride in the creations they make and often share them to family and friends. Before they start working on a project, professionals will spend hours researching the designs. They'll pay great attention to details, from choosing the most suitable materials to finishing the work perfectly.
What would you recommend as a starting material for woodworking?
Start with softwoods, such as pine or poplar. Once you feel comfortable with these two, move on to hardwood.
What time does it take for furniture to be finished?
It all depends on how large the furniture is. For smaller projects such as picture frames and boxes, it can take less than a day to complete. Larger projects such as tables and desks can take several days to complete. It takes time for the wood to be stained and sealed properly.
Is it possible to learn woodworking by yourself?
You can learn everything best by doing. Woodworking takes practice, skill, patience and experience. It takes time to master any craft.
Learning how to do something is best done by doing it. Start small and learn from your mistakes.
Statistics
- In 2014, there were just over 237,000 jobs for all woodworkers, with other wood product manufacturing employing 23 percent; wood kitchen cabinets and countertop manufacturing employing 21 percent. (theartcareerproject.com)
- Most woodworkers agree that lumber moisture needs to be under 10% for building furniture. (woodandshop.com)
- If your lumber isn't as dry as you would like when you purchase it (over 22% in Glen Huey's opinion…probably over 10-15% in my opinion), then it's a good idea to let it acclimate to your workshop for a couple of weeks. (woodandshop.com)
- Overall employment of woodworkers is projected to grow 8 percent from 2020 to 2030, about as fast as the average for all occupations. (bls.gov)
External Links
How To
How to stain wood
Staining wood refers to applying chemicals to wood's surface. This chemical reaction causes the wood to change in color. This chemical reaction causes the wood color to change from white and brownish red. Although oak is the most popular type of wood to stain, there are many other types that can be used.
There are many methods to apply stain to wood surfaces. You can mix the stain with a solvent, such as turpentine, and spray it onto the wood. Others use a solution made up of water and dye, which is then applied directly onto the wood. The stain can be mixed with paints and varnishes to become part of the final coating.
Preparing the wood surface is the first step to staining it. To apply the stain, clean the wood completely. Sanding the wood smooths out rough spots and scratches. Then you must decide what kind of stain you want to use. There are two main kinds of stains available: non-penetrating stains and penetrating. Penetrating colors penetrate deeper into wood than those that are non-penetrating. This makes them more suitable for darker colors, such as mahogany. Penetrating stains are best paired with lighter colors, such as maple.
After you've decided what type of stain to apply, get ready for your tools. You can use a paintbrush to apply stains. This allows you spread the liquid evenly over the surface. To remove any stains left behind after painting, you will need some rags. If you intend to mix the stain yourself you will need enough containers to hold all the components.
After you have prepared your materials, clean the area you intend to stain. You can remove grime and dirt with warm water and soap. Wipe down all furniture pieces with a dampened cloth and clean water. You should remove any debris, especially if your plan is to stain darker wood.
Apply the stain. Next, apply the stain to the furniture by starting at one end. Move slowly and carefully along the grain of your wood until you reach its opposite end. You must be careful not to allow the stain to drip off the wood's edges. Before you proceed with the next steps, let the stain dry completely.
Apply a clear polyurethane sealant to protect the painted surface. Apply three coats of polyurethane sealer. Let the third coat dry overnight before you sand the final coat.